
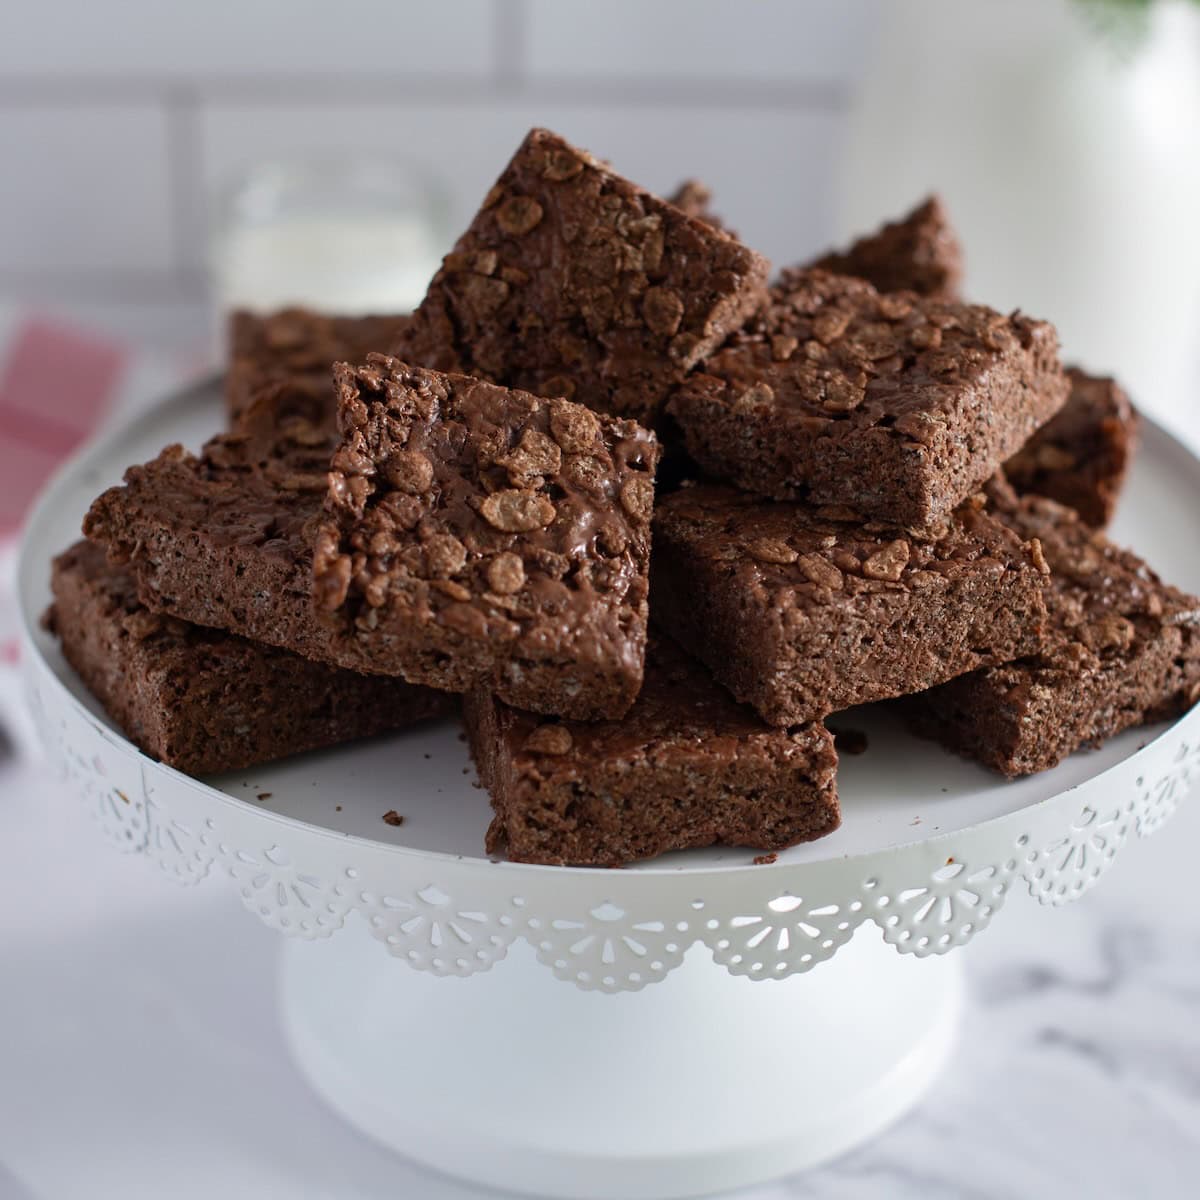
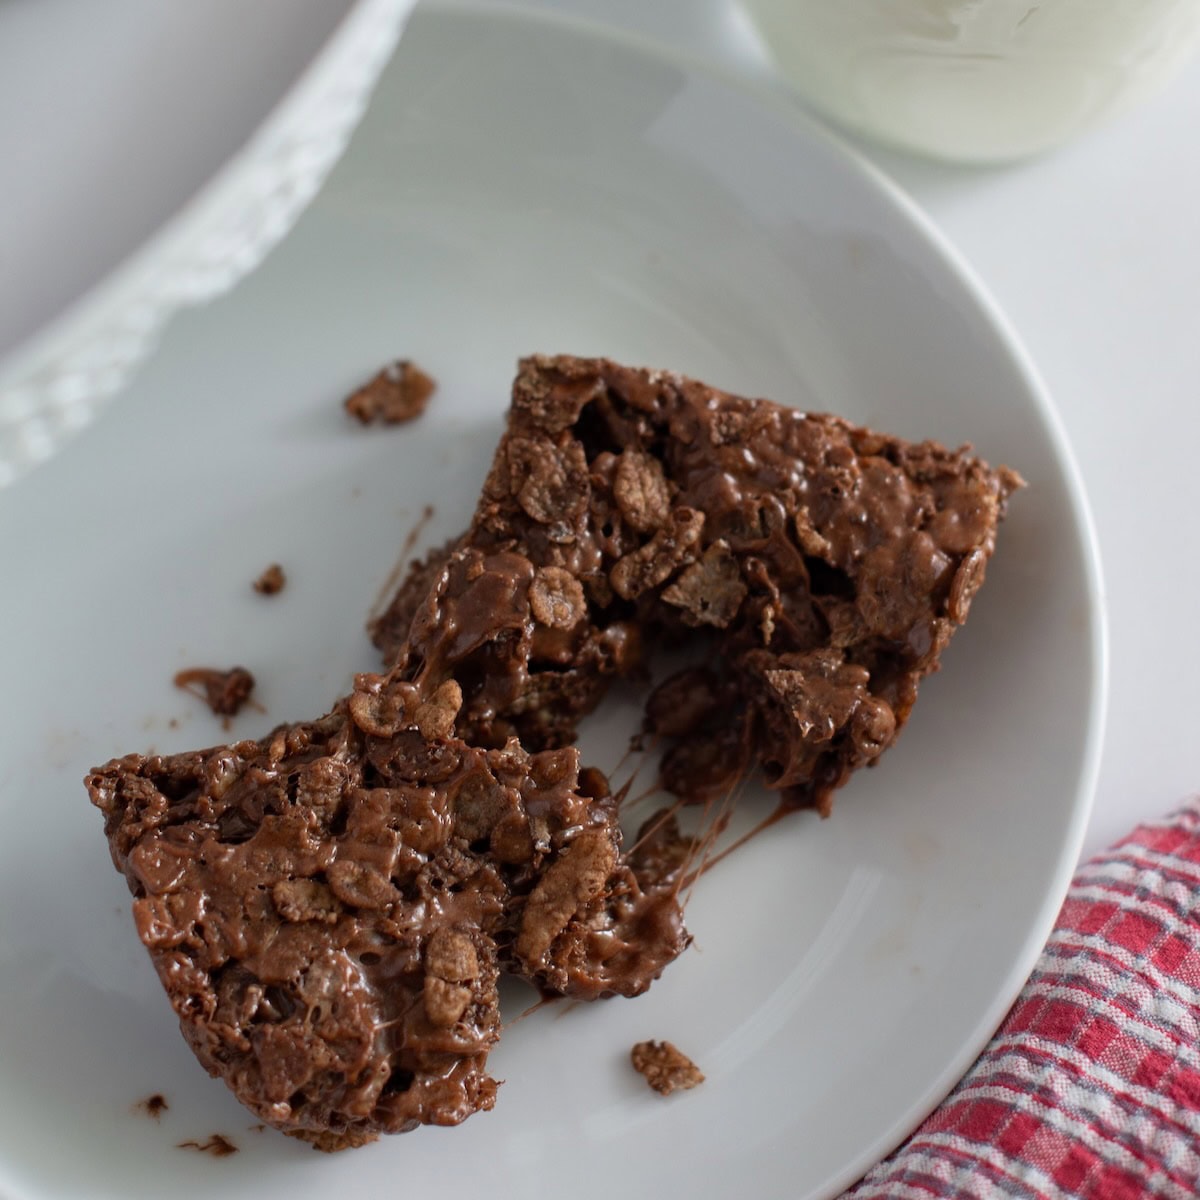
If you thought classic Rice Krispie treats couldn’t get any better, just wait until you try these Chocolate Rice Krispies Squares! They’re rich, gooey, perfectly chewy, and made with just 4 ingredients in under 10 minutes, no oven required. Whether you use the microwave (my favorite shortcut) or the stovetop, this is one of those foolproof sweet treats you’ll come back to again and again.
SAVE THIS RECIPE
Listen… what’s better than a Rice Krispie treat?! A chocolate rice krispie treat, of course! I mean, chocolate makes everything better, if you ask me. I’ve been making some version of these for years with marshmallows and chocolate crisp rice cereal as a last-minute dessert that absolutely everyone loves!
These easy cocoa rice krispie treats are a little richer, a little gooier, and a whole lot more delicious than their plain counterparts, thanks to the melted chocolate mixed right in. They come together in minutes with zero baking required, making them perfect for holidays, school or graduation parties, or anytime a chocolate craving hits!
Around here, anything gooey and chocolatey disappears fast, and these are no exception. If you love this kind of easy treat, you’ve got to try my creamy Chocolate Peanut Butter Rice Crispy Bars too. They’re another no-bake favorite with that same chewy goodness!
Shortcuts
- I often reach for mini marshmallows instead of regular ones, and they work beautifully here. They melt faster and more evenly, which makes the whole process quicker and a little less fussy.
- If you’re short on time (or just don’t feel like standing over the stove), the microwave method is a total game changer. It cuts the melting time down dramatically and still gives you that perfectly gooey texture.
- Lining your pan with parchment paper is one of those small steps that makes a big difference. It lets you lift the bars right out for easy slicing and saves you from scrubbing a sticky pan later.
I always have miniature marshmallows on hand because I'm always making my famous Mississippi Mud Brownies I've tested extensively and perfected according to the reviews.
Ingredients
Scroll down to printable recipe for exact ingredient quantities.
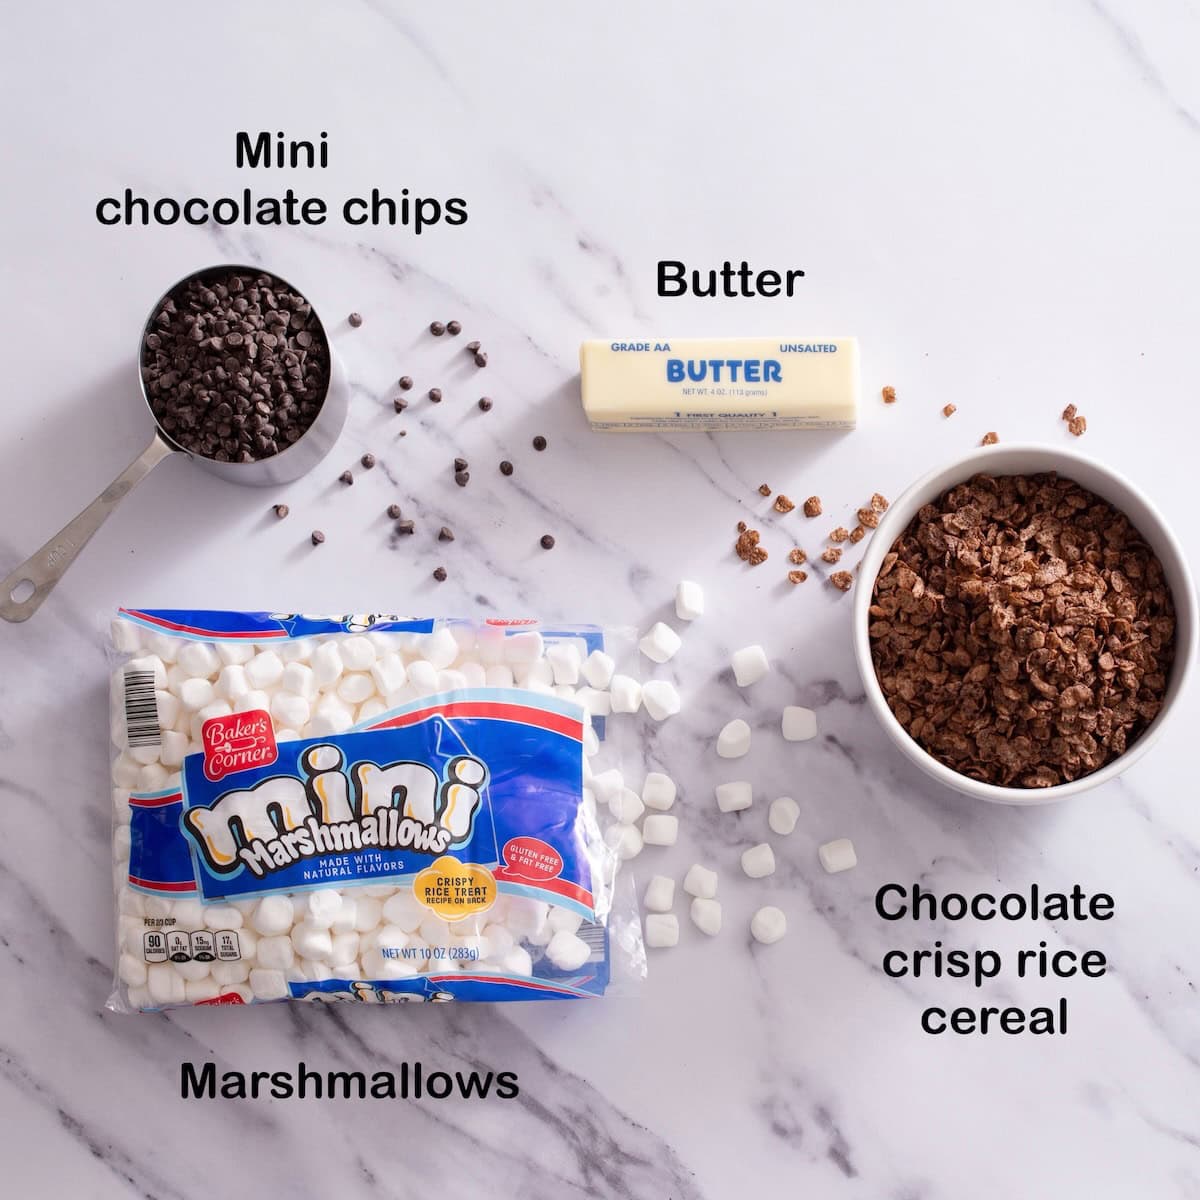
- Mini Marshmallows: These melt quickly and create that classic gooey texture!
- Butter: Adds richness and helps everything melt smoothly. Salted or unsalted both work.
- Chocolate Chips: Melted into the mixture for deep chocolate flavor, plus extra for little pockets of chocolate throughout.
- Chocolate Crisp Rice Cereal: Cocoa Krispies or other chocolate flavored crisp rice cereal like Cocoa Pebbles give these bars their signature crunch and extra chocolatey bite!
How to make Chocolate Rice Krispie Squares
Scroll down to the bottom for the printable recipe with detailed instructions.
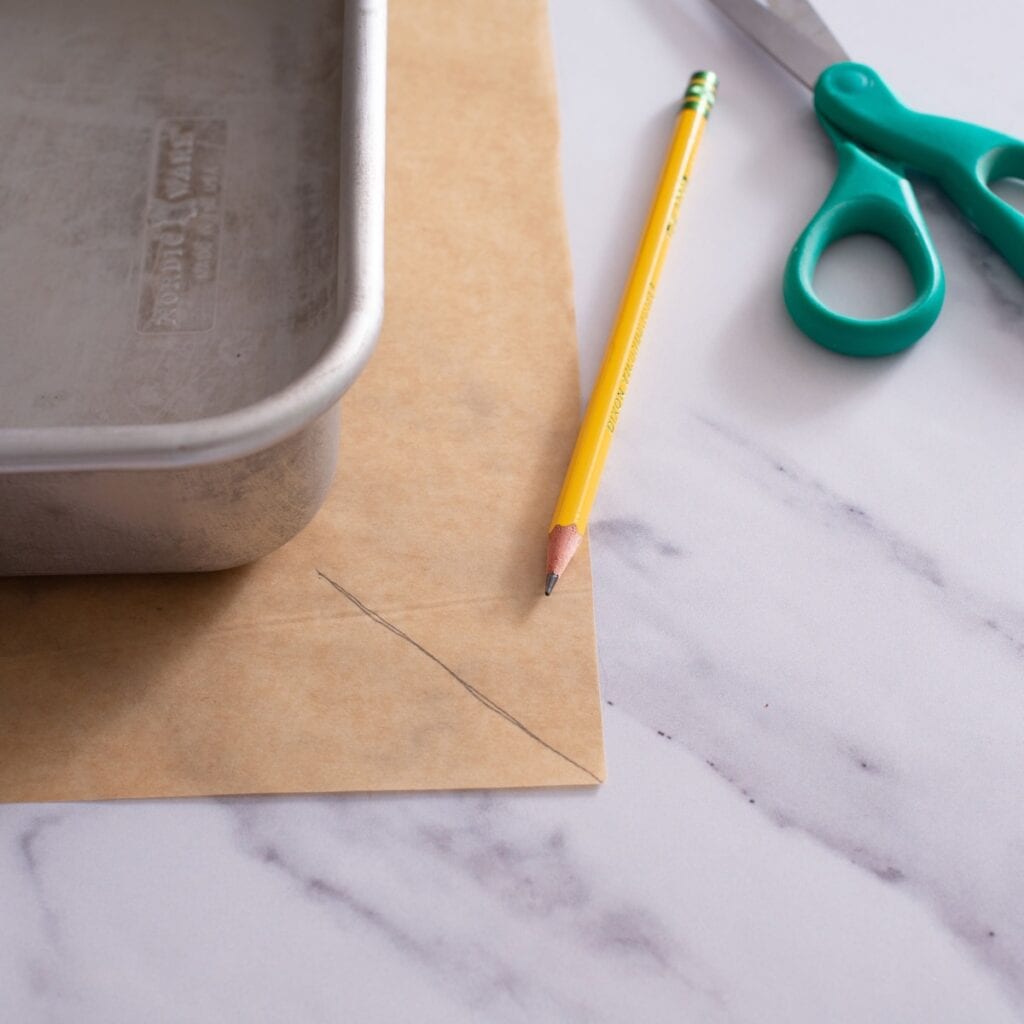
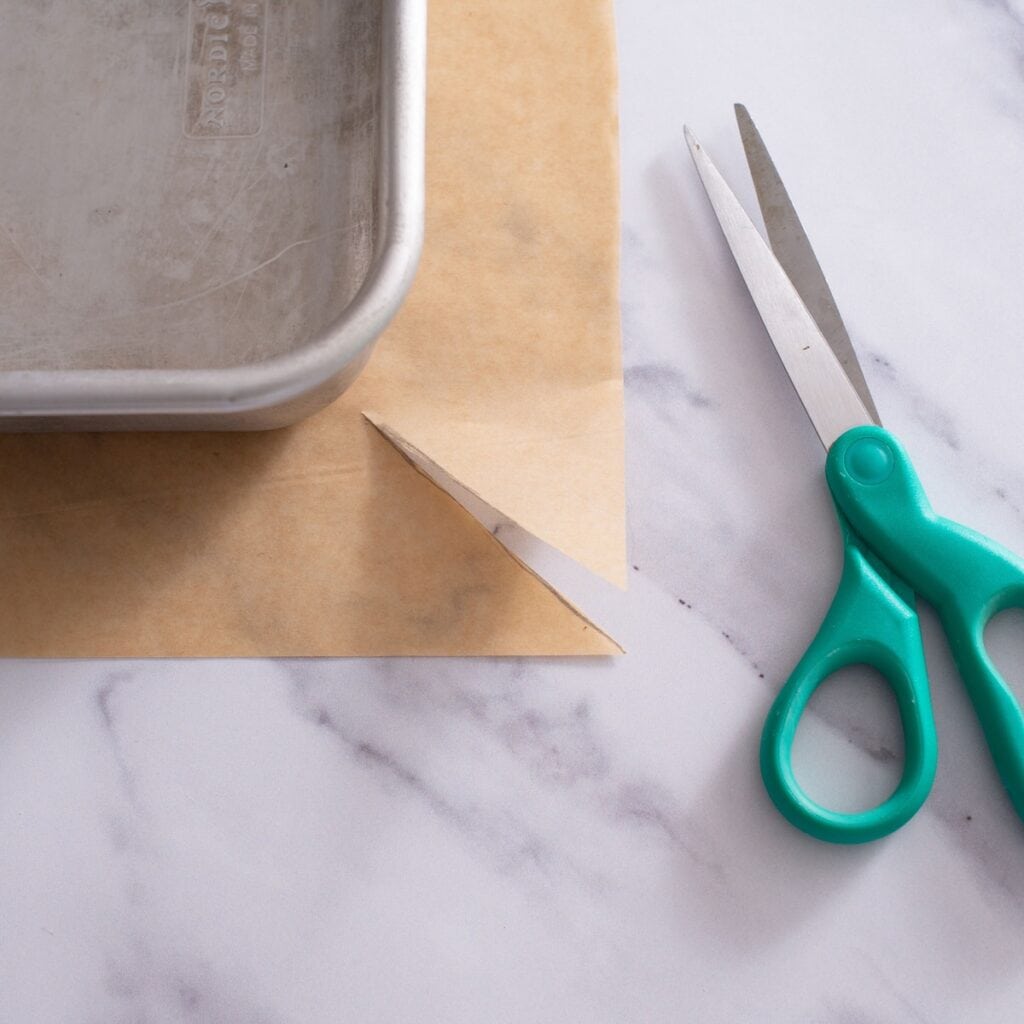
- Line a 9x9 baking pan with parchment paper or lightly grease the pan.
- Set the pan ON the square of parchment paper. With a pencil, draw a line from the corner of the pan to the corner of the parchment paper. Cut along the pencil marking, When you place the parchment paper INSIDE the pan, the cut corners will overlap and lay flat.
- Place the marshmallows in a large, microwave-safe bowl or 8 cup Pyrex measuring bowl. Cut the butter into 4 pieces and place on top of the marshmallows. Microwave at HIGH for 1 minute.
- Carefully remove the bowl and stir well. It’s ok if all the butter isn’t melted yet.
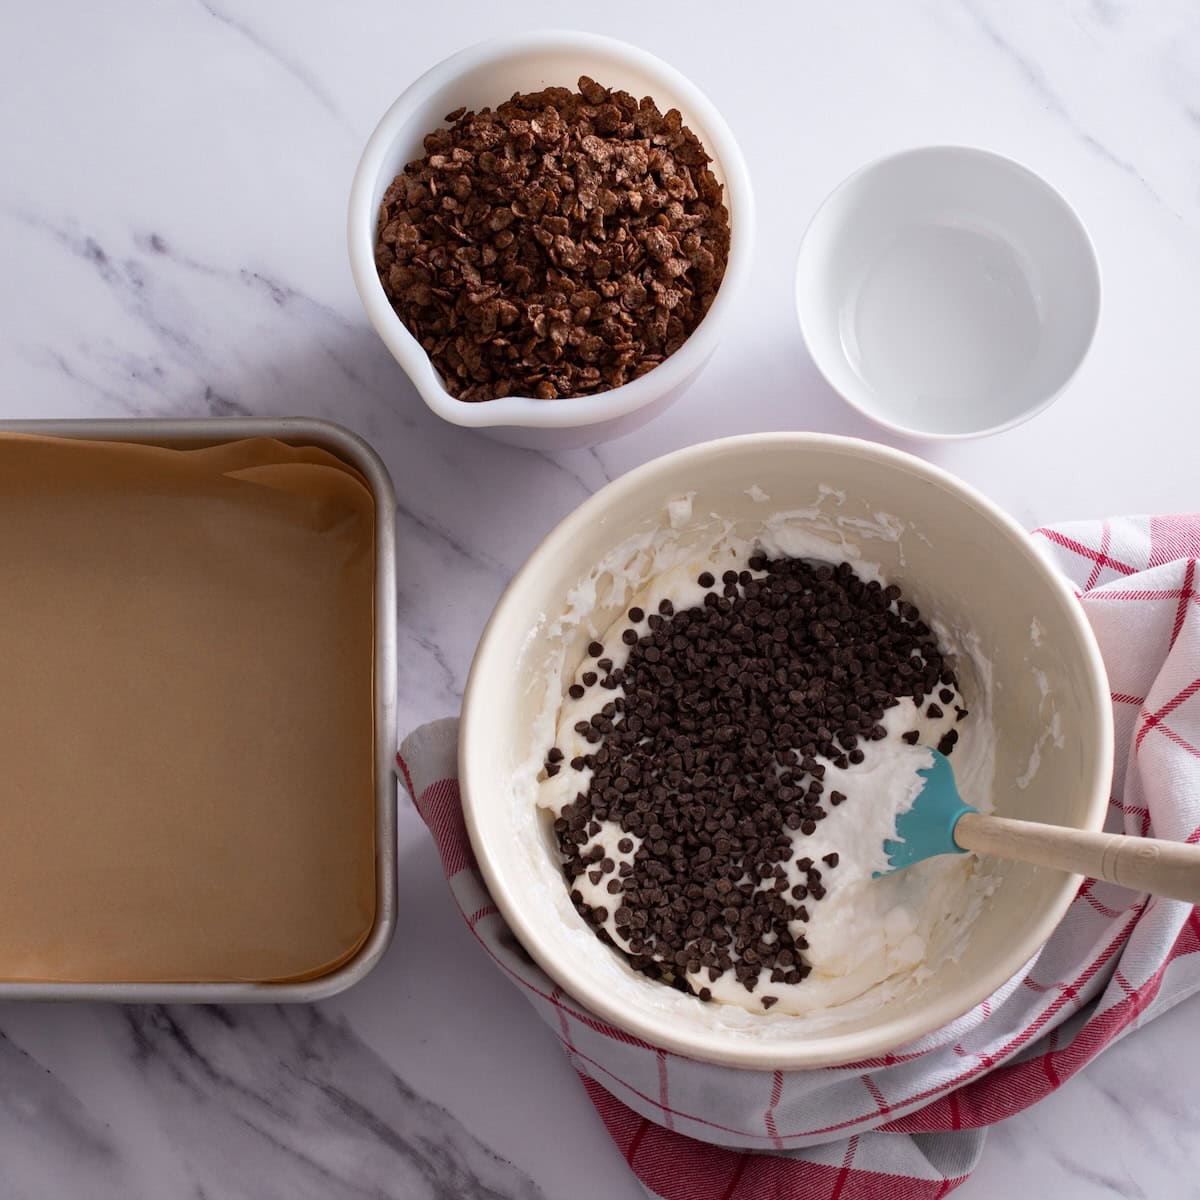
- Add ⅔ cup of the chocolate chips. Microwave at HIGH for 30 seconds. Carefully remove the bowl and stir until the chocolate is completely melted and no streaks of white is visible.
- Dollop the mixture into the prepared pan, then gently press evenly in the pan with lightly buttered fingertips or the back of a lightly buttered spoon.
- Sprinkle the remaining 1 tablespoon of chocolate cereal on top and gently press down with your fingertips.
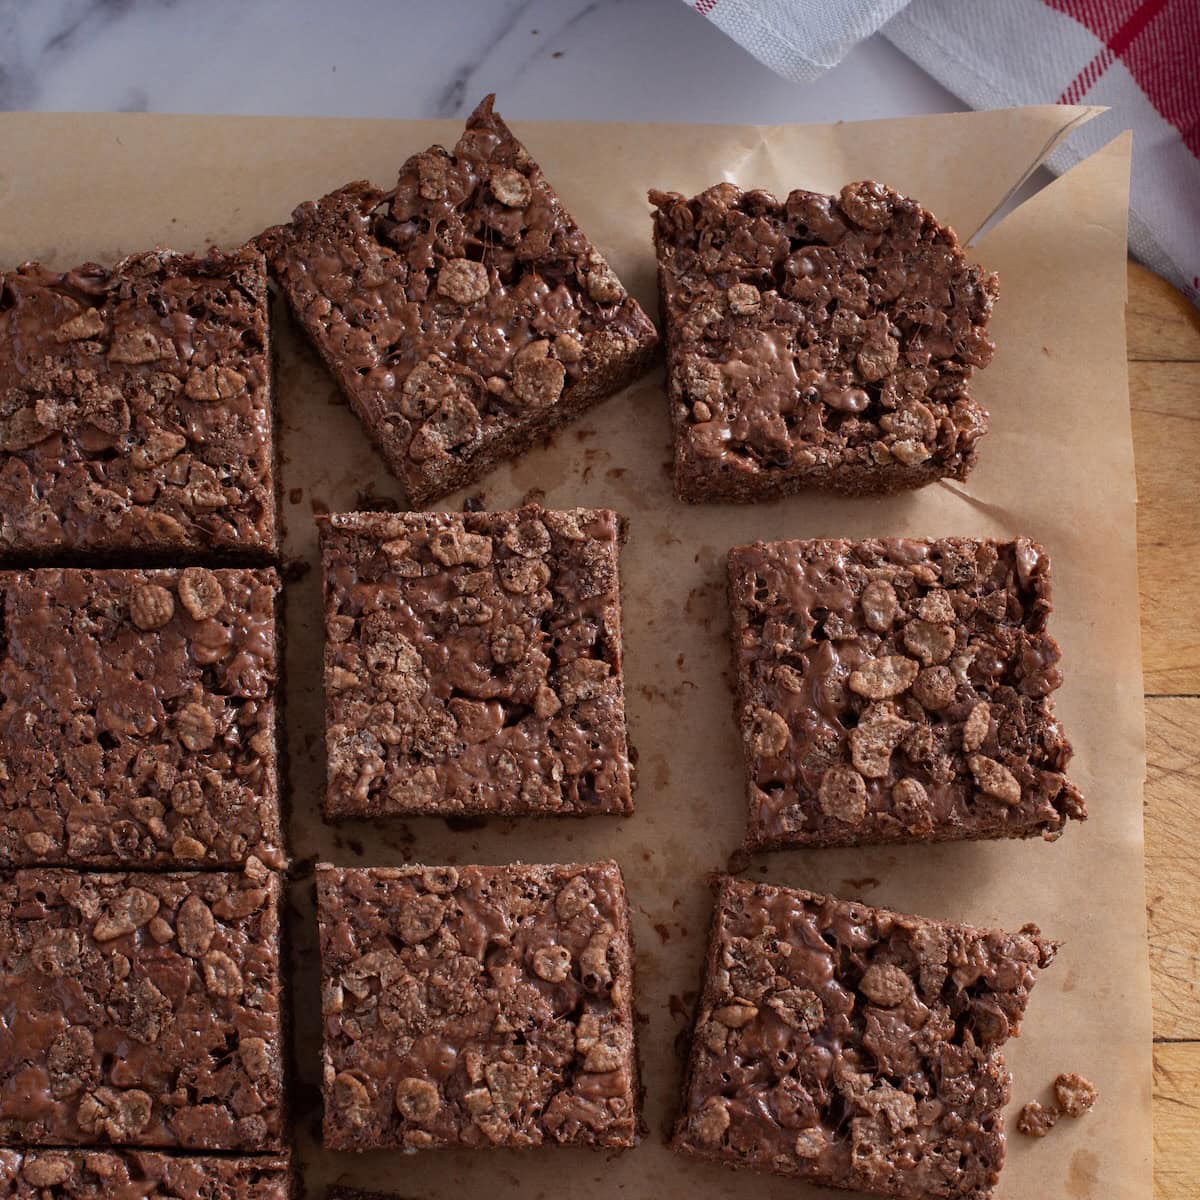
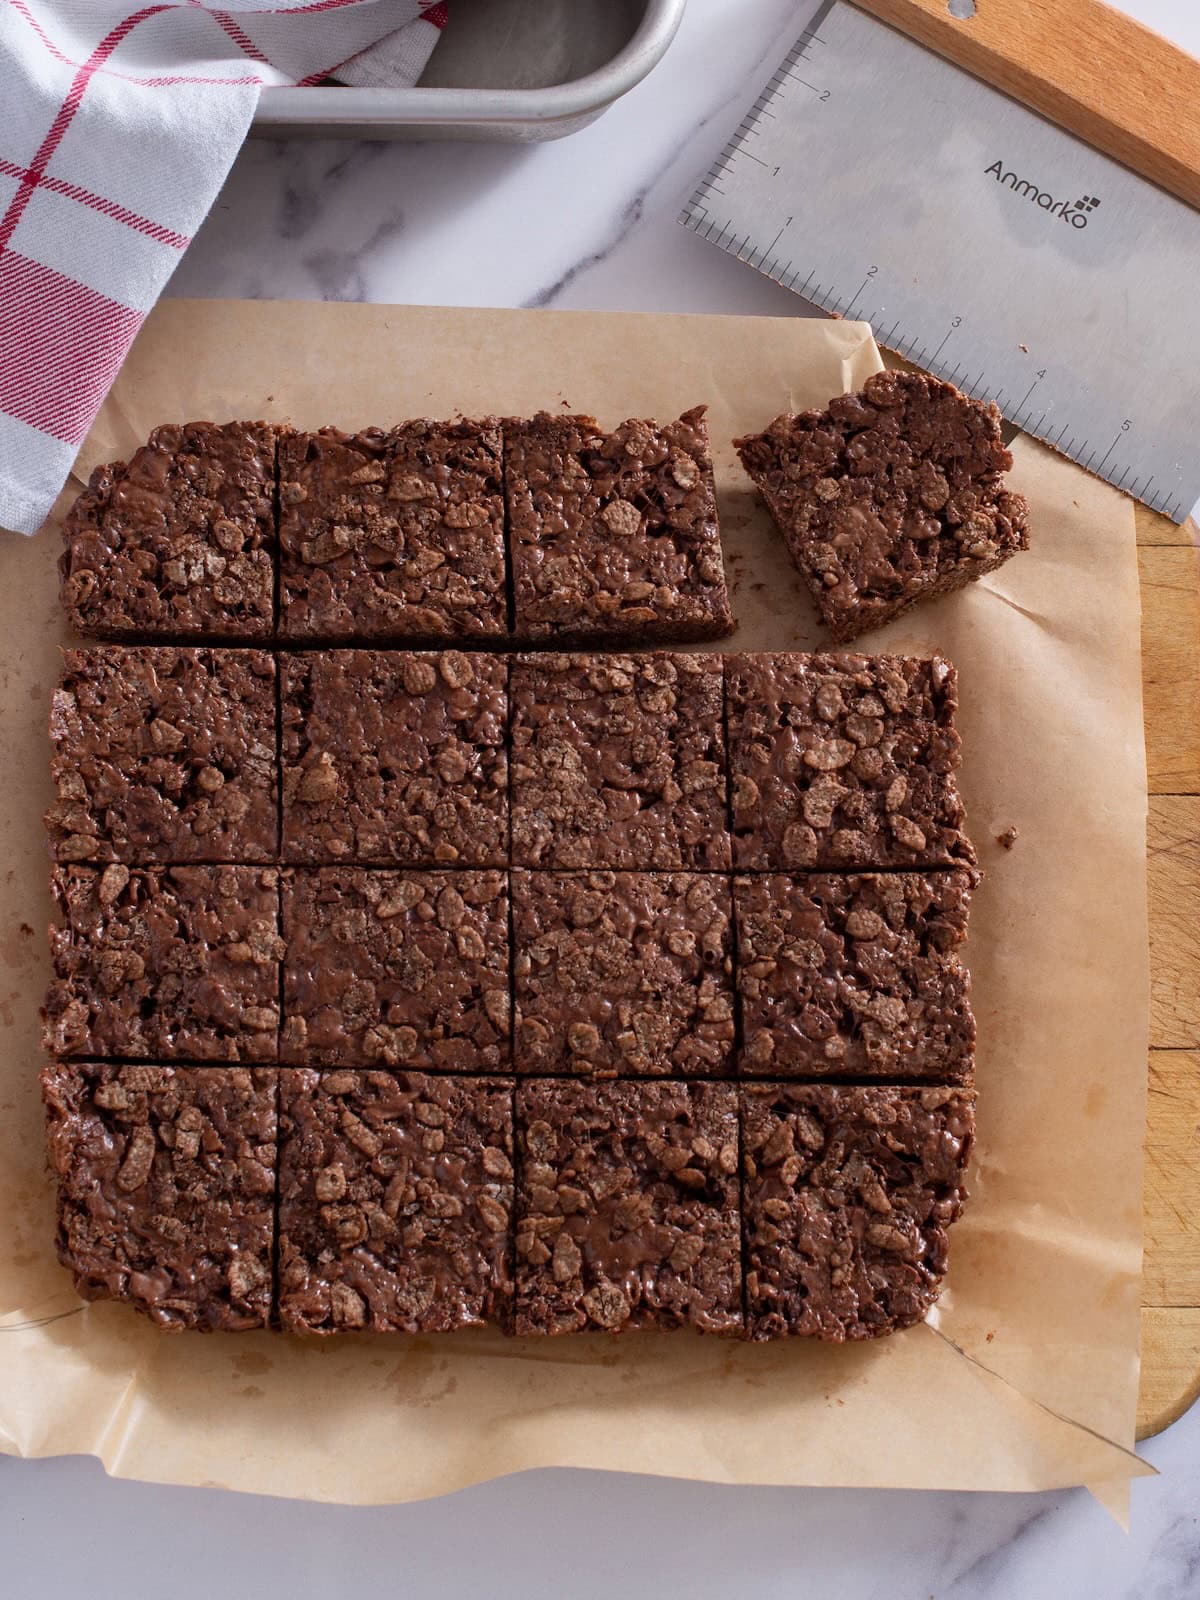
- Chill in the fridge 20 minutes or let cool at room temperature 1 hour or until firm enough to cut. Cut into 24 bars, 16 squares or 48 bite size pieces.
Expert Tip! Don’t press the mixture too firmly into the pan, you want them light and chewy, not dense.
Gild the Lily
As you know, I am all about taking my recipes over the top (as long as it's easy!). Feel free to melt some extra chocolate and drizzle the chocolate across the top for a gorgeous presentation!
Substitutions & Variations
- Rice Krispies Bars with Chocolate. Don’t have chocolate flavored rice cereal? Regular crisp rice cereal will work! The chocolate chips will melt and coat the cereal.
- Roll them into balls to make chocolate rice Krispie bites!
- Ten ounces of regular size marshmallows works, too! They just take a tad longer to melt.
- Chocolate Covered Rice Krispies. Melt chocolate or chocolate melting wafers and completely cover or dip the bars in chocolate! Yum!
Pro Tips
- Work quickly once everything is melted. The mixture starts to set fast, so have your cereal measured and ready to go before you begin. This makes the whole process smooth and stress-free!
- Lightly butter your hands or spoon before pressing. This keeps the mixture from sticking and helps you spread it evenly without a mess. It also gives you a smoother finish on top.
- Don’t overheat the chocolate. Melt it just until smooth! Overheating can cause it to seize or turn grainy. Short bursts in the microwave are your best friend here.
What to Serve with Chocolate Rice Krispies
These rice krispie treats with chocolate perfect on their own, but they’re even better as part of a dessert spread. Serve them under a scoop of vanilla ice cream or Peanut Butter Ice Cream for a twist!
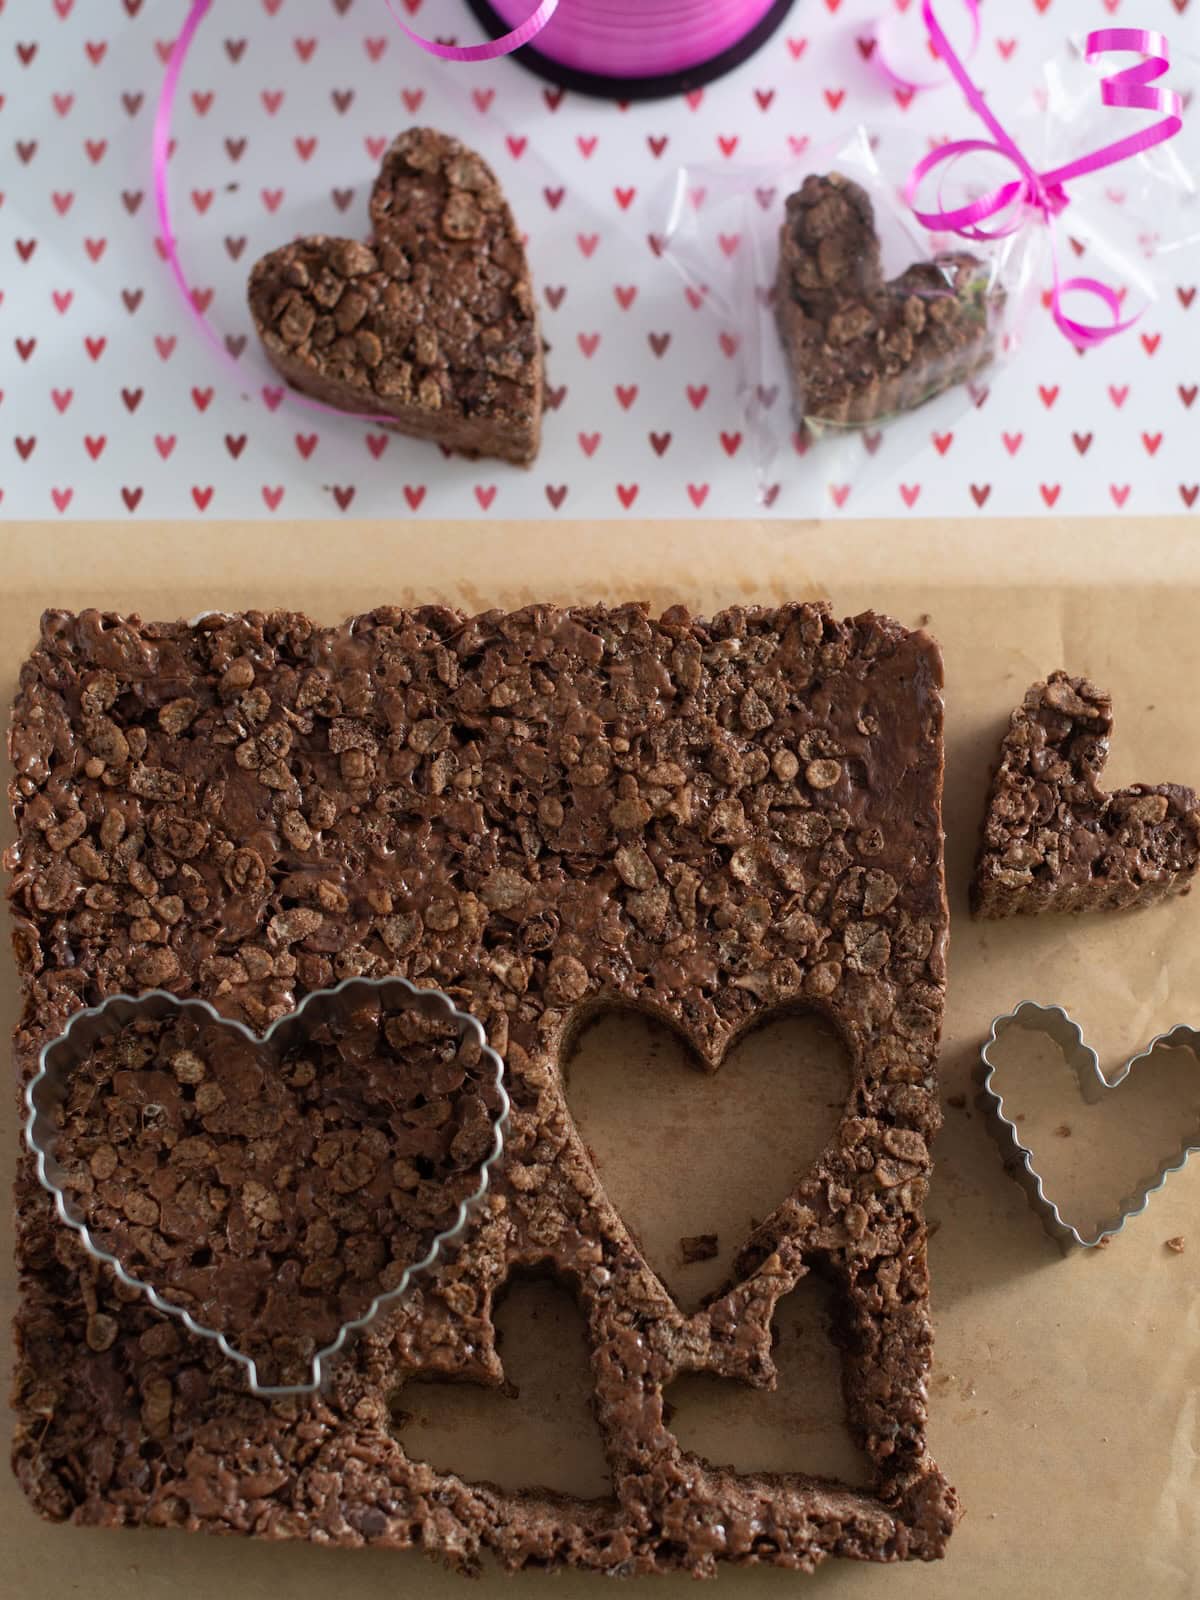
For Valentine’s day, I love to cut them into heart shapes and give them out as little gifts! They’re always a hit!
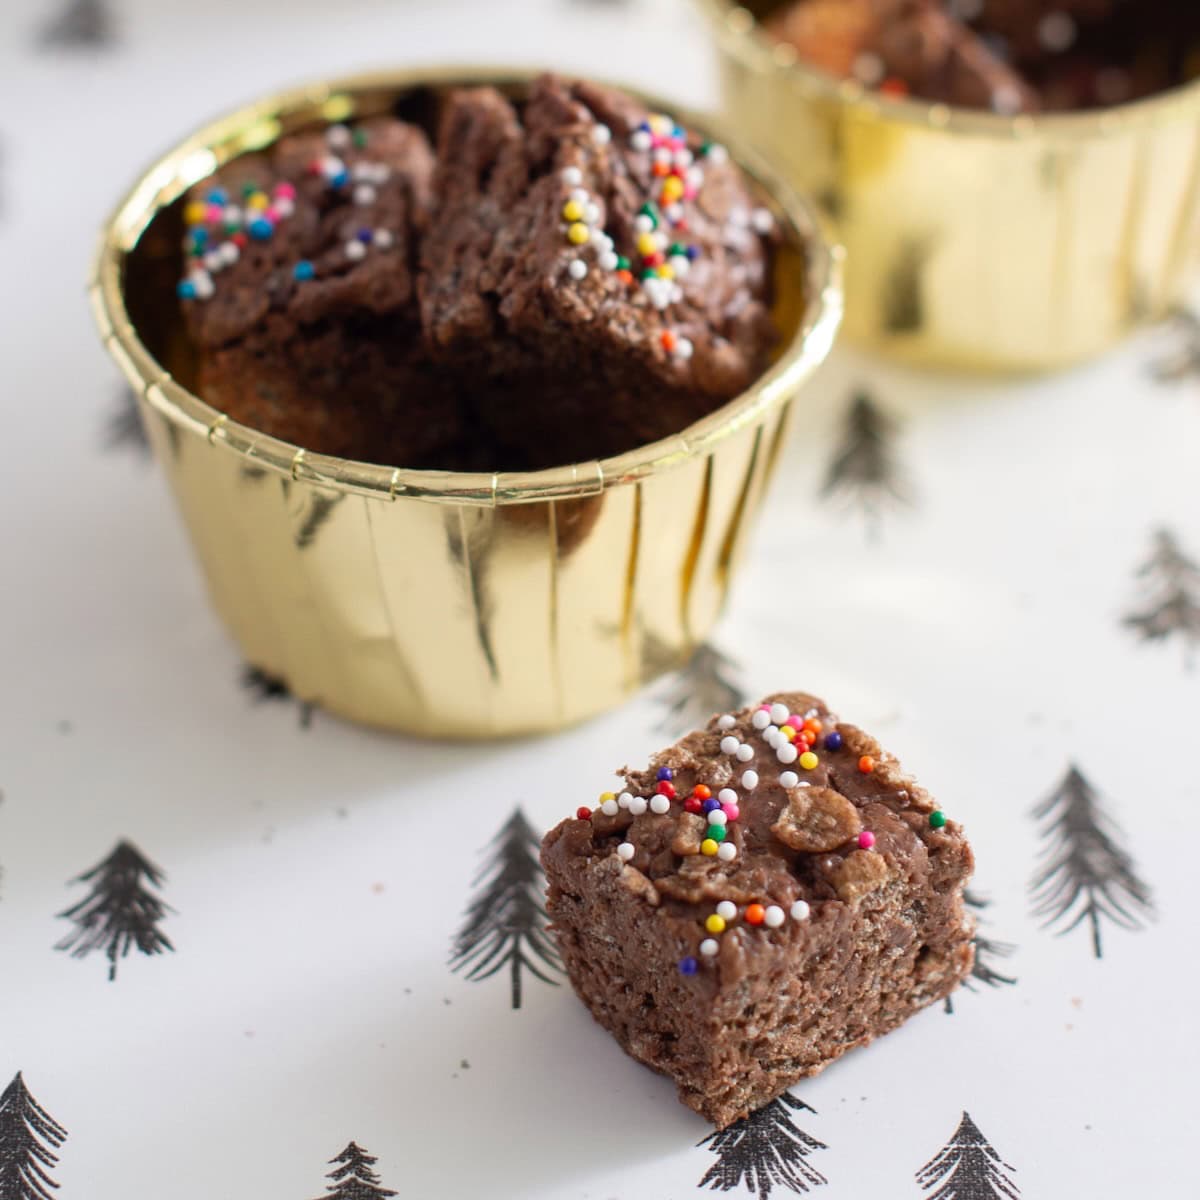
For Christmas, birthday or graduation parties, wedding or baby showers, I like to cut the chocolate rice crispies into 48 little squares for bite-size treats. Add colored sprinkles according to the occasion.
How to Store/Freeze/Make Ahead
- To Store: Keep in an airtight container at room temperature for up to 3 days.
- To Freeze: Wrap tightly with plastic wrap, then aluminum foil and freeze for up to 2 months. Thaw at room temperature before serving.
FAQ's
The key is to melt the marshmallows gently and avoid overheating them, which can make the treats hard instead of soft and chewy. It also helps to press the mixture lightly into the pan so they stay airy and tender rather than dense.
Some of the best mix-ins include extra chocolate chips, peanut butter chips, extra mini marshmallows, or crushed cookies for added texture and flavor. You can also add things like chopped nuts, sprinkles, or a drizzle of melted chocolate on top. Really, you can do whatever you feel inspired to do!
Yes! You can freeze rice krispie squares. Wrap them individually in plastic wrap, then place them in a freezer container or a sealed freezer bag. They will keep up to 6 weeks. Thaw on the counter before eating.
Want More Dessert Bar Recipes?
Leave a comment below the printable recipe if you have questions or tell me how you liked the recipe. Don't forget to rate it 5 stars if you love it!
Follow me on Facebook, Instagram, Pinterest and YouTube. Be social and share, y'all! Want all my new recipes and updates? Get my weekly newsletter in your inbox!

Chocolate Rice Krispie Bars
SAVE THIS RECIPE
Equipment
Ingredients
- 1 10 ounce bag mini marshmallows
- 4 tablespoons salted or unsalted butter
- 1 cup mini chocolate chips divided
- 5 cups chocolate flavored crisp rice cereal Cocoa Krispies or Cocoa Pebbles plus 1 tablespoon
Instructions
- Line a 9x9 baking pan with parchment paper or lightly greased pan.
- Pro Tip: Set the pan ON the square of parchment paper. With a pencil, draw a line from the corner of the pan to the corner of the parchment paper. Cut along the pencil marking, When you place the parchment paper INSIDE the pan, the cut corners will overlap and lay flat.
Microwave:
- Place the marshmallows in a large, microwave-safe bowl or 8 cup Pyrex measuring bowl. Cut the butter into 4 pieces and place on top of the marshmallows. Microwave at HIGH for 1 minute.
- Carefully remove the bowl and stir well. It’s ok if all the butter isn’t melted yet.
- Add ⅔ cup of the chocolate chips. Microwave at HIGH for 30 seconds. Carefully remove the bowl and stir until the chocolate is completely melted and no streaks of white is visible.
Stovetop:
- Combine the marshmallows and butter in a large pan. Stir constantly over medium heat until the marshmallows and butter is melted. Add ⅔ cup of the chocolate chips, stirring until chocolate is completely melted and no streaks of white is visible.
- Working quickly, add 5 cups of the chocolate cereal and the remaining ⅓ cup of the chocolate chips to the marshmallow-chocolate mixture and stir just until the cereal is well coated.
To Finish
- Dollop the mixture into the prepared pan, then gently press evenly in the pan with lightly buttered fingertips or the back of a lightly buttered spoon.
- Sprinkle the remaining 1 tablespoon of chocolate cereal on top and gently press down with your fingertips.
- Chill in the fridge 20 minutes or let cool at room temperature 1 hour or until firm enough to cut. Cut into 24 bars, 16 squares or 48 bite size pieces.
Notes
Substitutions & Variations:
- Rice Krispies Bars with Chocolate. Don’t have chocolate flavored rice cereal? Regular crisp rice cereal will work! The chocolate chips will melt and coat the cereal.
- Roll them into balls to make chocolate rice Krispie bites!
- Ten ounces of regular size marshmallows works, too! They just take a tad longer to melt.
- Chocolate Covered Rice Krispies. Melt chocolate or chocolate melting wafers and completely cover or dip the bars in chocolate! Yum!
Tips:
- Work quickly once everything is melted. The mixture starts to set fast, so have your cereal measured and ready to go before you begin. This makes the whole process smooth and stress-free!
- Lightly butter your hands or spoon before pressing. This keeps the mixture from sticking and helps you spread it evenly without a mess. It also gives you a smoother finish on top.
- Don’t overheat the chocolate. Melt it just until smooth! Overheating can cause it to seize or turn grainy. Short bursts in the microwave are your best friend here.
Nutrition
Nutrition analysis on GritsAndGouda.com recipes are mostly calculated on an online nutrition calculator. I am not a dietitian and nutritional information is an estimate and can vary based on products used.

Comments
No Comments